Handling API Calls Like a Boss in Flutter
Making API calls doesn't have to be hard... but it does have to be done right!
by Evan Horsley
Flutter is an open-source language developed by Google to build cross-platform apps that share a single codebase.
As IEL continues to grow, being able to connect our brokers and customers to their data is huge. And when dealing with large amounts of data, accessing it can be a pain to do properly. Although our development of apps using the Flutter framework is ongoing, we believe we have settled on a strong, well built API interface design that is not only clean, but efficient as well.
To start off, make sure you’re using the latest version of Flutter from here. Also, make sure you’ve added the Dio plugin for Flutter to your dependencies before continuing. For the sake of this post, we’re using Flutter version 1.17.5 and Dio version 3.0.9. Also, our example project (which can be found below to download) is setup to make calls to JSONPlaceholder for testing purposes.
At the root level, accessing an API usually consists of a two different type of requests: GET and POST. Since most of our calls to our API will use these two methods, we can build a simple interface that all of our calls can route through. First, we’ll make sure to setup our class properly, adding in our imports and instantiating our API interface as a Singleton.
import 'dart:async';
import 'package:dio/dio.dart';

class APIClient {
  //The next three lines makes this class a Singleton
  static APIClient _instance = new APIClient.internal();
  APIClient.internal();
  factory APIClient() => _instance;

  Dio dio = new Dio();
  Response response;

}
By making our interface its own class, it’ll be very easy to call from our data source which we’ll be building later. We make the interface a Singleton so that we can always reference the same instance of it whenever we call it in our data source. We also stand up a new Dio instance, and create our response variable ready to be filled from our calls.
Now we can build functions for our GET and POST methods.
  Future get(String url) async {
    dynamic responseJson;

    try {
      final response = await dio.get(url);

      responseJson = parseResponse(response);
    } on DioError catch (e) {
      parseResponse(e.response);
    }

    return responseJson;
  }

  Future post(String url, {Map headers, body, encoding}) async {
    dynamic responseJson;

    try {
      final response = await dio.post(url,
          data: body,
          options: Options(headers: headers, contentType: encoding));

      responseJson = parseResponse(response);
    } on DioError catch (e) {
      parseResponse(e.response);
    }

    return responseJson;
  }
NOTE 1: As you can see above, our GET and POST functions are wrapped in a Try/on-catch block. Our reasoning behind this is to catch the DioError exception and then handle it in our own way so we can return it as a type Exception and make the error message look a lot nicer. If you’re fine to return the DioError, then you can remove the Try/on-catch blocks, and the next few steps may vary for you.
Above, we’ve built out basic functions for the GET and POST methods. In this case, we’re just calling the GET method on a URL with no headers or data, and for our POST method we are passing in the URL with headers, a body, and a content type. As you can see, we’re referencing a function called parseResponse() that we have not yet created. Let’s do that now:
The parseResponse() function takes in our response object that is returned from our call to Dio and parses it (who would’ve thought?). We first check to see if we get a response code in our response object, because if we don’t our connection likely timed out or the server cannot be reached. If we do have a code, however, we can switch-case it to determine what we want to do.
NOTE 2: In our parseResponse() method, we are looking specifically for a 200 success code. However, anything in the 200-299 range constitutes a success. For the sake of the tutorial, I have just included some of the common response codes you my encounter.
dynamic parseResponse(Response response) {
    if (response.statusCode != null) {
      switch (response.statusCode) {
        case 200:
          return response.data; //Already decoded and ready to go
        case 400:
          throw new Exception("Bad Request. Please try again later.");
        case 401:
          throw new Exception("Incorrect Email/Password combination.");
        case 403:
          throw new Exception(
              "You do not have permission to access this.");
        case 500:
          throw new Exception("Internal Server Error.");
        case 503:
          throw new Exception("Unable to reach server.");
        default:
          throw new Exception(
              'Error occured while communicating with server. Status Code: ${response.statusCode}');
      }
    } else {
      throw new Exception(
          "The connection to the server timed out. Please try again later.");
    }
  }
In the case of a 200 status code, we can simply return just the response data back to the function, no decoding of JSON necessary! This is because Dio decodes JSON objects by default. I’ve included some of the most common error codes you may encounter when making calls to an API, but you can add more simply by adding a new case with that code. As stated above in Note 1, we catch the DioError exception and pass the response down to our parseRepsonse() method anyways. This way we can handle our Exceptions in a much nicer way, and so we can determine the exact message that will be displayed to the user in the Exception. We are throwing our Exceptions here, but you will see later that we will be catching them at the top level of our app.
Now we can begin building our API data source. This will act as a layer between the UI of the app and the API interface.
import 'dart:async';
import 'api_interface.dart';

class APIDataSource {
  APIClient _apiCli = new APIClient();

}
First, we’ll start by making our class. Next, we stand up a new APIClient(), the same one we just built earlier.
For this tutorial, we’ll be retrieving data from JSONPlaceholder. We’re going to want our app to be able to display to the user a todo from the JSONPlaceholder site. Let’s build our getTodo() function in the API data source like so:
import 'dart:async';
import 'api_interface.dart';

class APIDataSource {
  APIClient _apiCli = new APIClient();

  Future<dynamic> getTodo() async {
    final data = await _apiCli.get("https://jsonplaceholder.typicode.com/todos/1");

    return data;
  }
}
Our getTodo() function simply calls our GET method in our API interface, passing in the URL we want to call. We then return that data from our response to be used be our application. To test if our call worked, we need to build our interface to make the call to the API data source and display it nicely. In our case, we’ll be making our page a stateful widget so that we can update our text widget when we receive our data.
First, lets design our stateful class.
class MyHomePage extends StatefulWidget {
  @override
  _MyHomePageState createState() => _MyHomePageState();
}
After we’ve setup our stateful widget, we can move on to our state class for the page.
class _MyHomePageState extends State<MyHomePage> {
  @override
  Widget build(BuildContext context) {
    return Scaffold(
      appBar: AppBar(
        title: Text("API Tutorial"),
      ),
      body: Center(
      	///Content will go here
      ),
    );
  }
}
In order to pull down data from the API, we need to have a future function that will handle our call to the API data source for us.
Future<dynamic> getData() async {
    try {
      dynamic response = await APIDataSource().getTodo();

      setState(() {
        data = response['title'];
      });

    } on Exception catch (e) {
      print(e);
      //Handle error here however you want. Popup dialog? Close app? Its up to you!
    }
  }
We wrap our call in a try/catch-on block to ensure that all errors get handled exactly how we want. After we fill our response variable with our array from the call to https://jsonplaceholder.typicode.com/todos/1, we specify that we want the title element of the array to populate our text field with. As you can also see, you can handle errors however you please in the Exception catch block.
We can now go through and add in a button to initiate the call (although you can start the call however you want), as well as our text field to populate when we get back our data. Our final page widget will be like this:
class _MyHomePageState extends State<MyHomePage> {
  String data = "";

  Future<dynamic> getData() async {
    try {
      dynamic response = await APIDataSource().getTodo();

      setState(() {
        data = response['title'];
      });

    } on Exception catch (e) {
      print(e);
      //Handle error here however you want. Popup dialog? Close app? Its up to you!
    }
  }

  @override
  Widget build(BuildContext context) {
    return Scaffold(
      appBar: AppBar(
        title: Text(widget.title),
      ),
      body: Center(
        child: Column(
          mainAxisAlignment: MainAxisAlignment.center,
          children: <Widget>[
            RaisedButton(
              onPressed: () {
                getData();
              },
              child: Text(
                "Get Todo",
              ),
            ),
            Text(
              data ?? "",
            ),
          ],
        ),
      ),
    );
  }
}
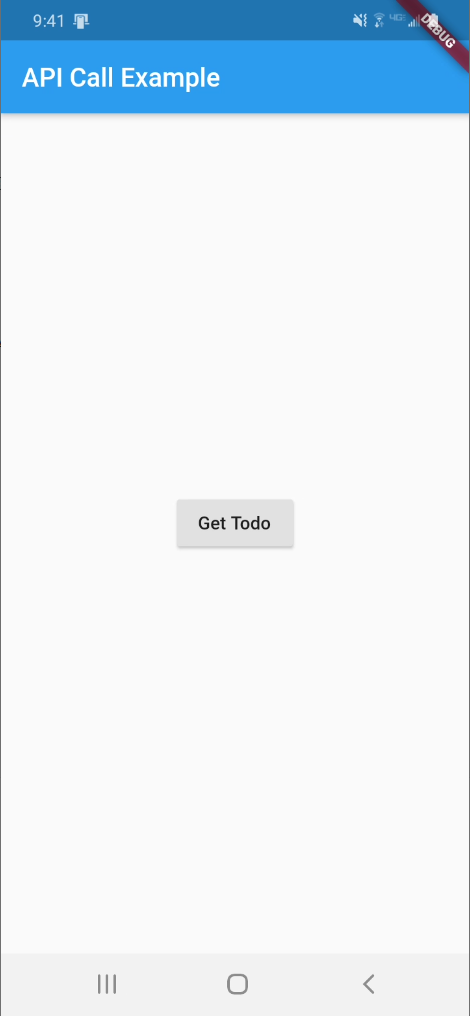
We can now run our application. If everything went well, initial launch should look like this:
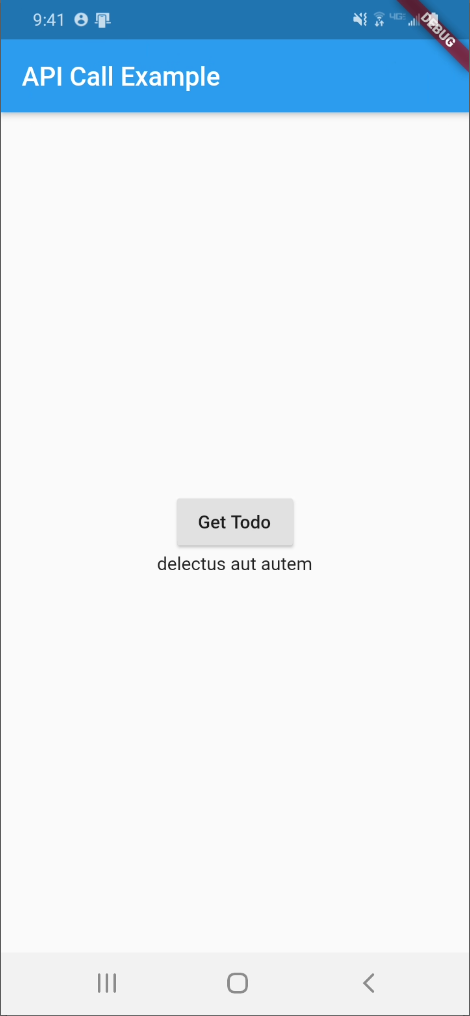
And after pressing our Get Todo button:
And that’s it! You’ve successfully handled API calls in Flutter like a boss! By breaking out each layer, we allow for more reusability of these methods throughout the app. Anytime you want to grab a todo from anywhere in the app, just call getTodo() from the APIDataSource() class. Anytime you want to make a GET or POST request inside the app, just call their respective methods inside the APIClient() class.
Ensuring your app has an easy to use, efficient, and secure connection to your API is very important. Not on does it make it much easier from a developer standpoint to continue making new API calls inside of your app, but its also important from a user standpoint. By connecting the the API in the way we have, we’re ensuring our users can get their data as quickly as possible, while still enjoying their mobile experience. Updating your calls is as easy as changing one function, not many. Reusability is a big deal in Flutter and software development in general, so take advantage of this the next time you’re making calls to your API!
If you’re having issues getting this example running, feel free to download and run our example project below!